

We will travel through the journey of setting up a new company file in Excel and QuickBooks, comparing and contrasting the process in both.
These presentations will work a comprehensive bookkeeping problem, both within Excel and Quickbooks, Excel having the advantage of being more transparent, allowing us to see all the components of the process; QuickBooks having the advantage of being able to use forms and simple data input to quickly and easily generate the end product, the financial statements.
We will work each component of the problem in Excel first and show how the same process can be done in QuickBooks.
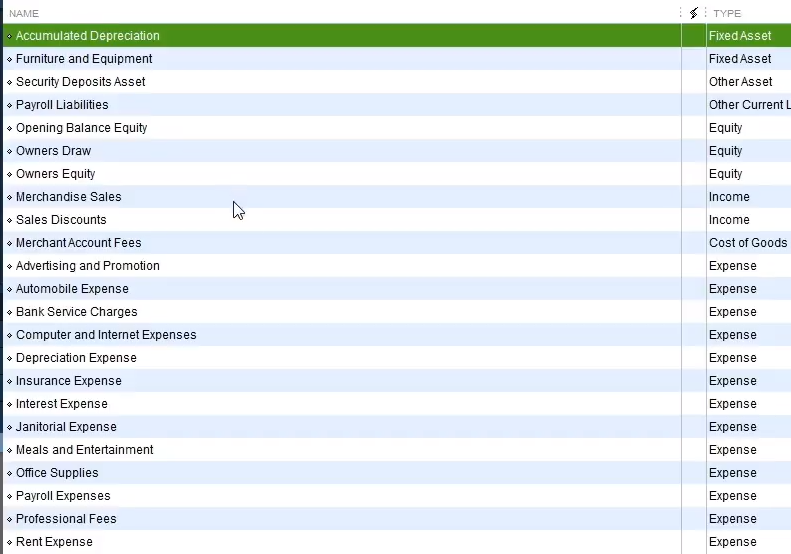
First, we will set up a new worksheet in Excel and compare that to the setup process of a new company file in QuickBooks. When setting up a new company file in QuickBooks one of the first things QuickBooks generates is a chart of accounts like the one below. The chart of account is the first thing we will set up in Excel.
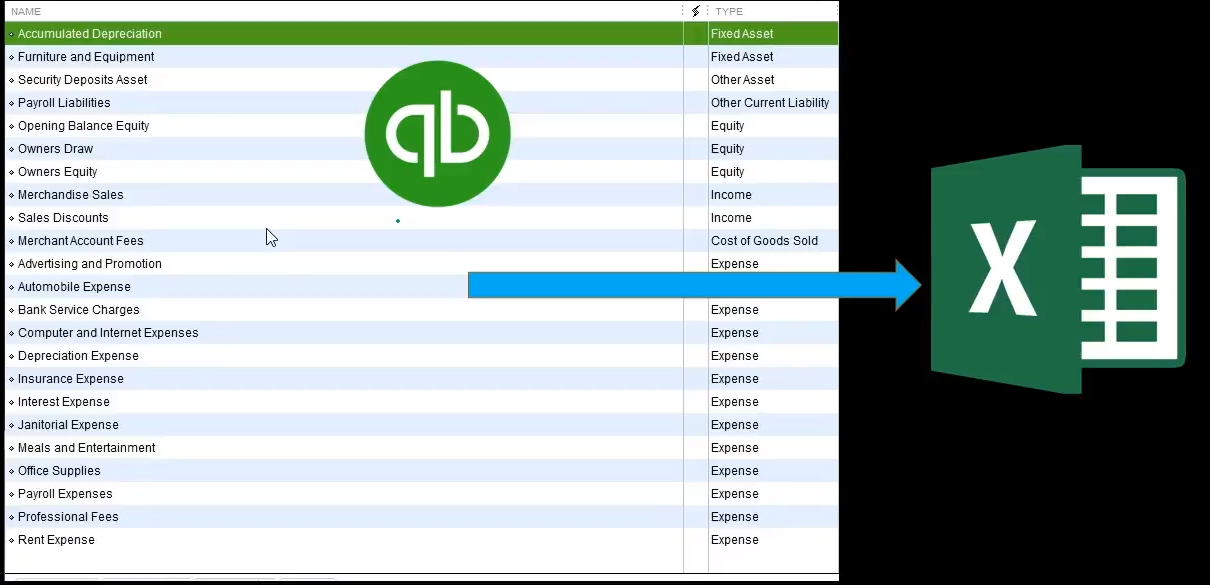
Note that the setup process in QuickBooks generally involves a shortcut, QuickBooks generating a chart of accounts based on the industry we select. The chart of accounts is not perfect but is often a good starting point.
For more information about QuickBooks take a look at our comprehensive course. Get more information by clicking the image below.

Note that the chart of accounts is not ordered by alphabetical order but by account type. On a general level, the order of accounts will always be asset type account, liability type accounts, equity-type accounts, income type accounts, and then expense type accounts. Each account type will have more subcategories. For example, assets will be broken down into cash type accounts, accounts receivable type accounts, current assets, and other assets.
We will need a similar ordering when entering our chart of accounts into Excel. Below is an example of a chart of accounts generating in Excel. We have listed half the accounts on the left followed by half the account on the right to save space.
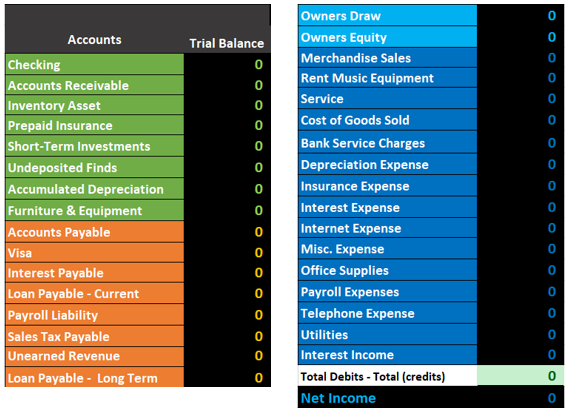
Note the same ordering of the accounts, assets first in green, followed by liabilities in orange, then equity in light blue, and revenue followed by expenses in navy blue.
This chart account is the starting point for entering data into our Excel worksheet. We have also set up a general journal and a general ledger.
Below is an example of the general journal.
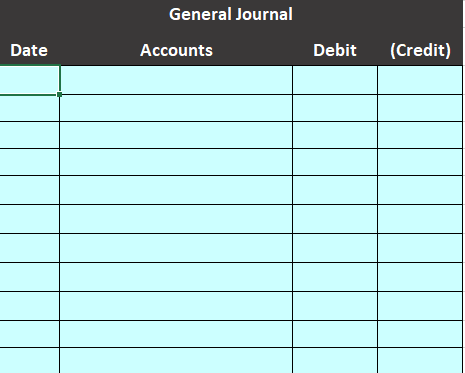
The general journal will just be an area for us to enter our journal entries, journal entries that include date, accounts, and debits and credits.
Below is an example of the general ledger.
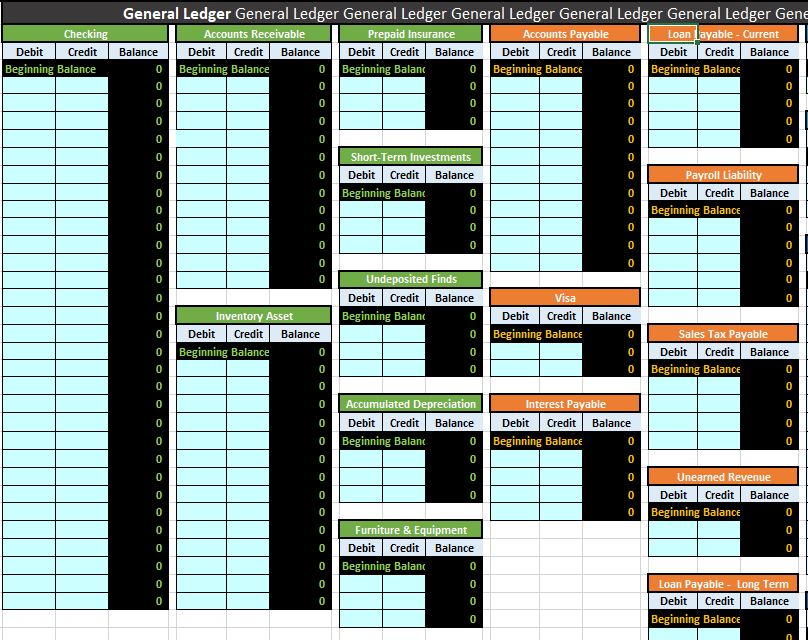
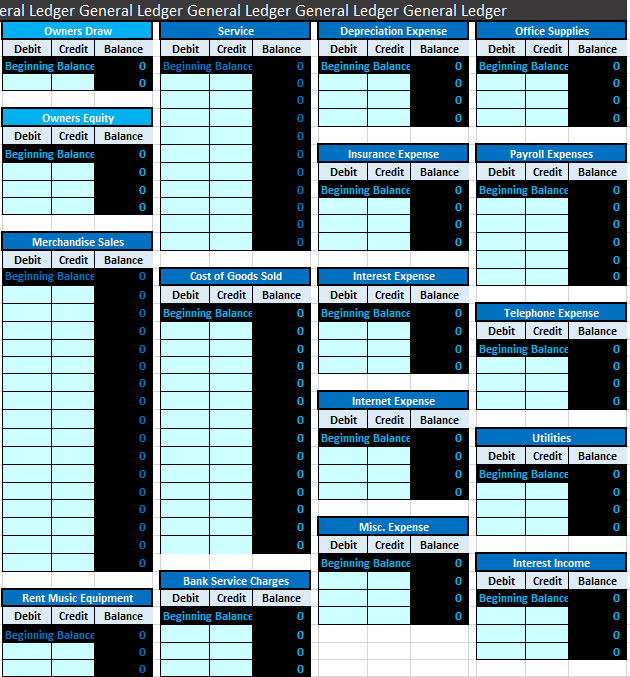
The general ledger can be intimidating because of its length, but it is just another list of accounts, the same list as the chart of accounts, in the same order of assets, liabilities, equity, income, and expense. The difference is that the general ledger will provide more detail, provide the activity in order by date of the transaction.
Next, we will take a quick look at the setup process for a new QuickBooks file.

First, we will run the QuickBooks software.
We will then select the file dropdown and new company.
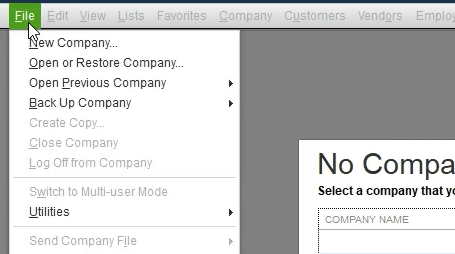
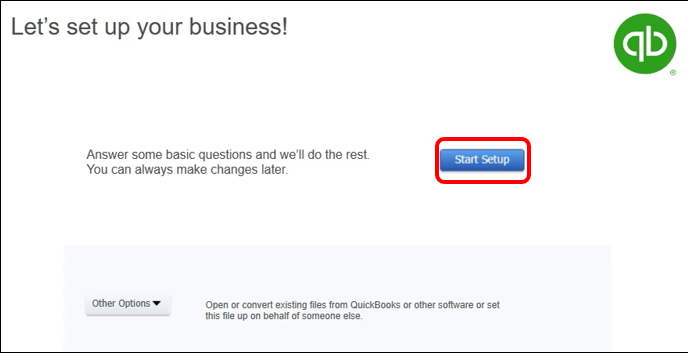
QuickBooks has a few options for setting up a new company. We will chose the start Setup option.
Next, we enter company data.
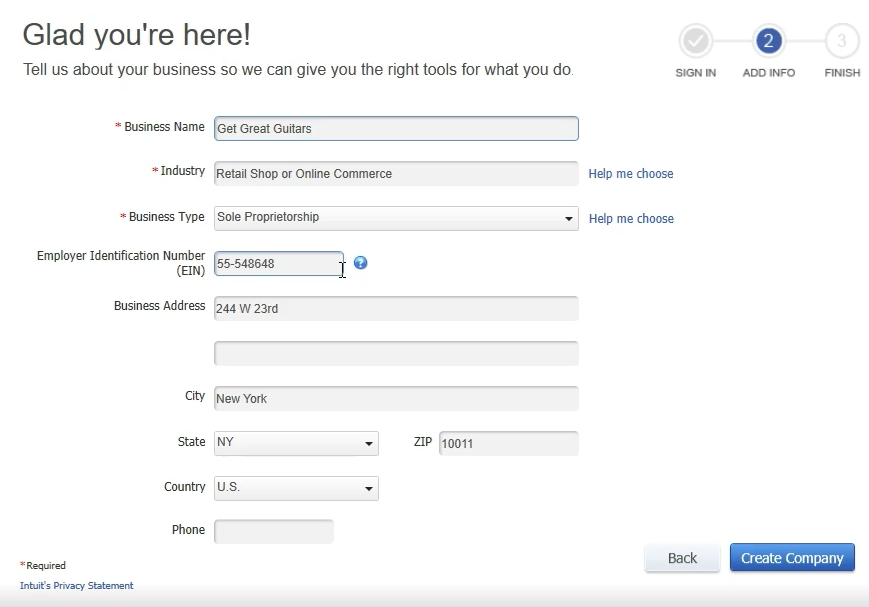
Note that we have chosen the industry of retail shop or online commerce. QuickBooks will use this information to provide us with the chart of accounts, QuickBooks guessing which accounts will be needed based on our industry.
The startup process above is all we need to do for QuickBooks to set up a basic chart of accounts and get up and running.
For more information about QuickBooks take a look at our comprehensive course. More detail at the link below. Click the image for more information.
QuickBooks Bank Reconciliation – How to Enter First Bank Reconciliation