
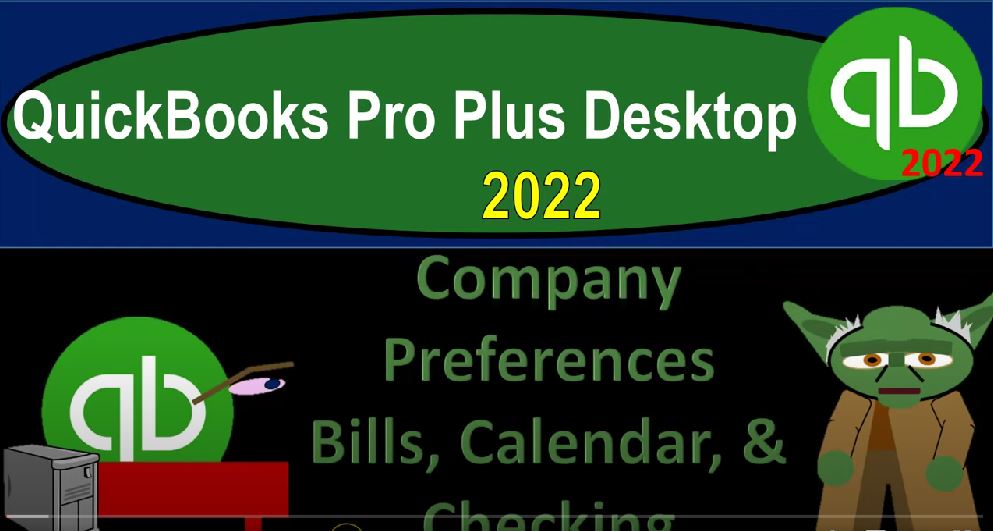
QuickBooks Pro Plus desktop 2022 company preferences bills calendar and checking, get ready because we bookkeeping pros are moving up the hilltop with QuickBooks Pro Plus desktop 2022. And we are on the desktop with their QuickBooks software on the left hand side that data file we set up in prior presentations get great guitars on the right opening them up by double clicking the software open up that data file within it selecting the get great guitars opening up that file, enter in the password which is capital G G, G 1234.
00:35
And okay, we are in our get great guitars file homepage typically opens on its own, I’m going to maximize the homepage will typically go to the View drop down select the Open Windows list, we could see the open items now I’m going to close up everything except the homepage here. So we’ll be focused in on just the homepage, then we’re gonna go to the Edit drop down, we’re looking at the preferences now go in through those preferences. Last time, we looked at the accounting,
01:03
this time we’re going to the bills, the calendar and the checking starting with the bills, my preferences on the left company preferences on the right. Remember, when you’re thinking of bills, you’re thinking about vendors that are we’re getting goods and services from the vendors as opposed to the invoice we’re providing and charging for the goods and the services. So we have then up top, then the inter bills bills are due 10 days after the receipt, that’s going to be the default, you can adjust the default if you so choose, warn about duplicate build numbers from the same vendor.
01:35
So it’s going to have a number of the bills. And if we have a duplicate, that’ll give us that warning, which is a good internal control. So it will typically keep that on automatically use credits. So in other words, if there’s a credit to apply, it will do so automatically from that particular vendor. Otherwise, when we do the payment, we would apply them out here entering the bill. And then as we enter the Pay Bill, there’ll be an item at the bottom there for applying them out. And then we’ve got automatically use discounts.
02:02
So the discounts have to do possibly with say like cash discounts vendors possibly given us a discount to give early payment and a small discount for that to increase their cash flow. If we don’t have that on it, we’ll have to tie it out or apply it in a similar way. Meaning if I close this out, and I say I’m going to say yes, then when we pay the bills will have that discount application. Generally the discounts they’re talking about there. If you go into the inter bills, and you’ll take a look at the terms, then this kind of thing where it says 1% 10.
02:36
Net 30 means there’s a 1% discount if paid within 10 days, if not, then 30 days, and then you got to deal with basically applying that discount out, you can also apply that discount kind of automatically when you enter a vendor, if I was to add a new vendor and the vendor center, for example, then you could set those terms, I won’t actually add the vendor. But if I was to add a new vendor, then you’ve got the payment down here and then you’ve got your terms right there, we could select something like that 1% 10. Net 30, if it would be applicable in that area as well.
03:12
Closing this out, and then closing this back out, we’re going to go back to the edit drop down and to the preferences, and the company preferences, those are those two items. And it says so if you were to SET set the used discounts, then you would select then and account to be applying it to I’m going to turn that off here, because that’s going to be the default to have it off. And we’ll keep it off as the default bill payment set a Bill met payment stubs template for and we just have this template here the standard so that’s the one that’s going to be the default. Let’s go to the Calendar tab.
03:46
Next tab on down where we have the my preferences, and that company preferences, this time the activities in the my preferences, you got the calendar view, so we have the default here for the calendar to pull up the way it was last time versus daily, weekly or monthly, we’ve got the week view, which is the five day seven day or five slash seven. It’s going to show all transactions to do information transaction, do deposit, estimate invoice and so on and so forth.
04:15
So you can adjust what it’s going to show. And then you’ve got the display down below on Show Hide show only if data exists and so on upcoming data shows seven days, and then the past do data show at the 60 days. So we’ll keep that as is and then I’m going to go to the checking account. So the checking information has to do with basically our cash accounts. So we’ve got the print. So let’s go to the first tab first note we have the open the write checks, open the pay bills, open the pay sales tax, open the make deposits. These are the typical kinds of forms that will be used and applied to the checking account.
04:53
Notice we don’t have a checking account because they didn’t give us one when we set up the standard, the Standard Chartered accounts. Let’s close this out, let’s actually add the checking account at this time and then come back on over here and apply it. So I’m going to close this back out, I’m going to go to the lists up top to the chart of accounts, chart of accounts they gave us by default, but it starts at accounts receivable, no checking account, they used to give us a checking account, I believe they don’t do it at this point, because they want to note and they want you to add one,
05:25
and then they’re going to tell you, Hey, you could connect that to the bank feeds possibly, to give you that option. So they want to basically be able to do that, through the process, I’m guessing that’s why they don’t have the checking account at default. But let’s add it we’re gonna say new item here. And it’s going to be a bake type of account. And so we’re going to say continue on the bake type of account. And I’m just going to call it the checking account. So checking.
05:50
When you’re actually adding the checking account, you might want to put like the last four digits of the number or something like that, if you have multiple accounts that you’re going to be dealing with. If not, then you might want just a generic name, like a checking account. And so then sub account, no sub account, no description really needed, we’re not going to do the tax mapping here, I’m not going to add the open items at this point in time, I would just like the checking account to apply for the settings. So I’m going to save it and close it, save it and close it.
06:20
And then it says set up online services, your financial institution may offer account statement downloads, so we’re not going to set up the bank feeds at this point. So I’m going to close that out. There is our checking account. Now let’s go back into our settings, edit drop down to the preferences on down below when the checking settings. So open the new checks. So when we open the new checks by default, we’re going to the checking account. So when I enter a check, it’s going to default to the checking account, open the pay bills, when we pay bills, we pay with basically a check decrease in the checking account, we want it to default to the checking account.
06:56
And then when we open the pay sales tax, once again, we’re paying the sales tax with a decrease in cash, the account we want it to be picking is the checking account. And then when we make a deposit, that’s going to be an increase that form we want it to be going to by default, the checking account. And then we’re going to go to the company Preferences tab, print account names on voucher by default, no, that makes sense, I’m not going to have the account name on the voucher typically change check date when non clear check is printed. So I’m going to keep the default off there.
07:29
Start with payee field on the check. So when you when you go into the check, it would start with the payee field, I’m going to keep it off and just go and tap through the entire check. So you can experiment with that if you think the data input with would be a bit faster for it, warn about duplicate check numbers that’s on that’s an internal control. It’s typically an important one if you’re using checks to verify that you didn’t you know missing a check, no one stole the check and so on autofill payee account number and check memo. So autofill payee account number,
08:02
I’m going to keep that on by the default as well select Default accounts to use open the Create paychecks. So the paychecks let’s put the default here, once again, at the checking account, you might have different you might want to set up another account for your paychecks possibly, but I’m going to keep it to the same account here, open the pay open the pay payroll liabilities with once again, I’m going to be choosing the standard checking account for the pain of the liabilities. Then we’ve got view and enter download transactions using advanced Express.
08:39
And then the classic mode, I’m going to keep it on the default setting which is the advanced, there’s a little bit more information on that note we’re talking about the bank feeds down here, we’re not going to be looking at the bank feeds or adding bank feeds and the first part of the course we’ll talk about them later. First we want to think about entering the transactions but then how the bank feeds might into the accounting process.
09:00
So you got the classical mode basically over here and then they’ve been adjusting the look and feel of the bank feeds. So we have the renaming rules created in advance or express mode are not available and classic mode, the register mode and aliases created in classic mode are not available in the advanced or express mode, you can change between the modes as often as needed, or as required by before troubleshooting.
09:27
So if you’re doing the bank feeds, you can toggle through these modes and get an idea which mode you think is going to be the best you’re not kind of going to be restricted to one or the other. As you turn it on from the start. Turn on bank feeds log files. I’m going to keep the default as off with those at this point as well. In future presentations. We’re going to continue on with some of the preferences