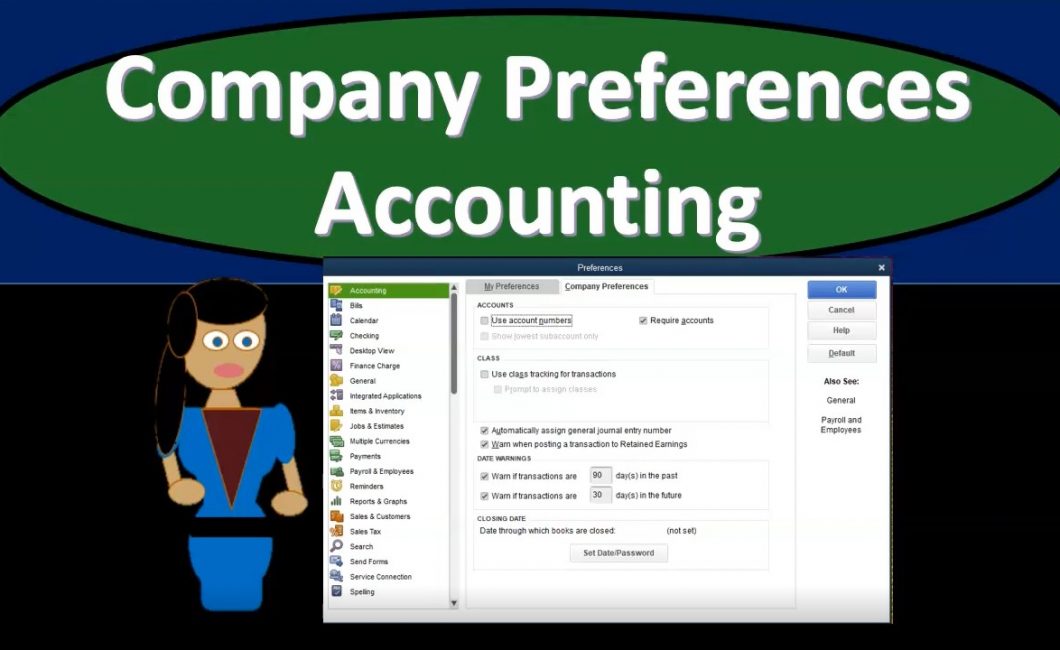
This presentation, we will take a look at company preferences focusing in on the accounting preferences within QuickBooks Pro QuickBooks desktop 2020. Here we are in the QuickBooks system, we’re at our homepage. Typically, when I’m in the homepage, I usually like to have the open windows open. So usually every time I go in here, we go to the View tab, and we go to the open windows list. And that’s what I would prefer doesn’t really matter here with what we’re doing.
0:26
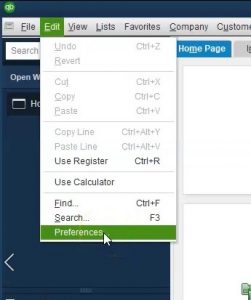
But that’s typically the system I will have every time, we’re then going to go to the preferences to do so we will go to the Edit screen up top will scroll down to the company preferences, and we want the company preferences. Now there’s a lot of preferences and they could be confusing, you’ve got the preferences on the left, that will be by category, you also typically will have tabs up top depending on what preference you are in for my preferences in the company preferences. So we’re going to go through a lot of these mini the default settings are pretty good. So don’t be too overwhelmed because the default settings are generally good.
0:59
And they’ll okay to move forward. With a practice problem like this. In particular, we want to go into the company settings so that we can get rid of some annoyances such as time, our time constraints, that will give you a warning type of thing when we’re working in the past or the future.
1:15
They’re not as effective. We also just want to discuss the company preferences, because different people have different preferences. And if you set up on or you sit on someone else’s computer or someone else’s QuickBooks files with different preferences, and you can start to annoying and have annoying little things happen. And you say, Well, why is that different, it’s just the way the preferences are set up. And you can see where those are at and understand what’s going on.
1:36
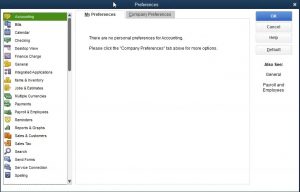
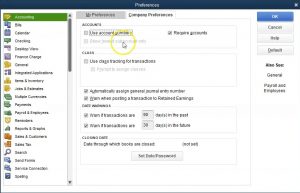
Therefore, we will start at the top with the accounting preferences, you’ll see there’s two tabs up top we have the my preferences and we have the company preferences, we then have nothing in the my preferences, which is nice and makes it easy, we’re going to go into the company Preferences Tab, then we have the user account numbers and require accounts. Now, if you select the use account numbers, notice it’s not the default over here is the default. And other words, not having account numbers is basically the default.
2:03
If you’re if you use account numbers, they can be very useful because they give you a lot more control in the ordering of the accounts that you have. However, if you do not have experience with account numbers, and you put account numbers and you don’t understand the ordering system, you can really kind of muddy the waters and make things not not good. And therefore, if you know about account numbers, you can put them in if you’re not, you can put the default and it will order the trial balance the way we have seen it previously, that being by basically account type assets, liabilities, equity, income and expense and the subcategories of those including cash, accounts receivable, types of assets, and then the other current assets and so on.
2:43
And then within those categories, those types, it’ll order by alphabetical order. So that’s where the control could happen. If you don’t want it order by alphabetical order. Within the account types, you can use the account numbers. So we’ll discuss that a bit more detail later, we might do a presentation simply on accountant numbers show the control that they can add. But for now, we’re not going to include them.
3:04
And then we have classes use class tracking for transactions. This could be a great tool for some types of things. If you want to if you want to group things separately for class tracking, it could be very useful for things like job tracking, if you’re going to class different jobs, or different segments or different regions. There’s various uses for class tracking, we may put some presentations later on when you would use class tracking. But by default, typically, most companies don’t need the added feature.
3:32
That’s why By default, the class tracking is not included, we’re going to keep that they’re automatically assign at general journal entry numbers. So when you make a general journal entry, like the debits and credits, it’ll automatically basically assign a number to it. That’s basically a useful practice to have, therefore, we will keep the account setting they’re worn when posting a transactions to retained earnings.
3:57
Why would it do that retained earnings is an equity account. So the equity account is an account that usually is only used when something is closed out to it, such as basically the you know, when you close out the income statement to it, net income is going to close out to the equity assets, liabilities, equity.
4:13
So it’s unusual, therefore, to post things to the retained earnings. So it’s saying, Hey, we’re going to tell you that you’re doing something a little bit unusual, we will from time to time post something to a retained earnings type account, and we’ll see this warning pop up, I’m going to keep it there, however, so that we can, you know, see that it will pop up and say, hey, that’s okay. When is it? Okay? When is it not?
4:34
Okay, so it’ll it’ll give us that warning, then we have the date warnings. So Warren, if transactions are 90 days in the past, Warren of transactions are 30 days in the future. Now, this is a great tool, if you’re working in real time, if I’m putting my transactions in daily, or you know, within the same month, then of course, it’s very possible that you someone can miss key, put the wrong date the wrong year, and now you got something posted totally in the wrong period. And that’s not good, right.
5:03
So it’s really nice to have these saying, hey, you posted something way out of the range. And so you want to change that. Now you could increase the range if you’re if you’re lagging in your posting. And therefore, and you know, you don’t want to have a big mistake, like post the wrong year. So you might up these ranges, to make them larger. If you’re so forth. For example, if you’re doing bookkeeping and someone gave you something, and you want to enter all your data for the whole year, or if you’re a business owner, I know no one, this wouldn’t happen anybody here, right.
5:32
But if you if you had no bookkeeping for the entire year, and you wanted to put together the whole bookkeeping for the whole year, because you need to do your taxes at the end of the year will then the 3090 range isn’t going to be helpful, because you’re going to be going back to dates way past that. And it’s going to give you a pop up every time you do that.
5:50
However, if you wanted to say, hey, I want to be within a year’s range, you could just increase these ranges. And that might help you from at least putting in a day a year that’s completely wrong. In this practice problem. Because we have to work in the past or the future, that we’re going to remove the date ranges because if you’re working the problem, I don’t want you to get have this pop up screen happening all the time. So again, very good in practice, not good. If you’re working far in the past, you could change the ranges.
6:22
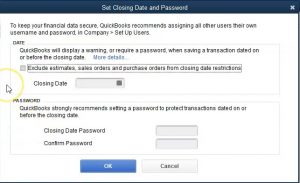
However, if you’re working at a future or past date, for some reason, these will be very annoying as they pop up all the time. And then lastly, we have the closing date, date through which books are closed that we have the set up process here says to keep your financial data secure, QuickBooks recommends assigning all other users their own username and password and company set up users.
6:45
So then we have the date, QuickBooks will display a warning or require password when saving a transaction dated on a before the closing date. And then we can include the date here and this can help us there’s a lot of the problems with bookkeeping is to say, hey, the books are closed for this period, as of now and so we don’t want any transactions to be posted to the prior period. So you could basically say, Hey, you know, close that date, give a warning. If that if that time period is closed, if you don’t, you know, things can get messed up in terms of rolling over the books.
7:14
So we’re not going to deal with that now. And we’ll we’ll mention that as we start to go through the process. And then the password. QuickBooks strongly recommends setting a password to protect transactions dated on or before the closing date. So it’s going to say hey, don’t what you’re basically saying here is that, hey, this, this period is closed, do not mess with this period or any date prior to this period.
7:35
We’re basically done with that period. And you can only do so if you have a password that can really help people from you know, going back and adjusting things or making an adjustment to a prior period which can cause problems. So we’re going to go ahead and keep that as is and then we’re going to go to I’m going to just basically say okay, and close this out and we’ll move on to the next preferences next time. If you make any changes when you say okay, it’s going to ask you to save those two inches as you do so.

